DNS_PROBE_FINISHED_NXDOMAIN: Meaning & Fixes – DreamHost
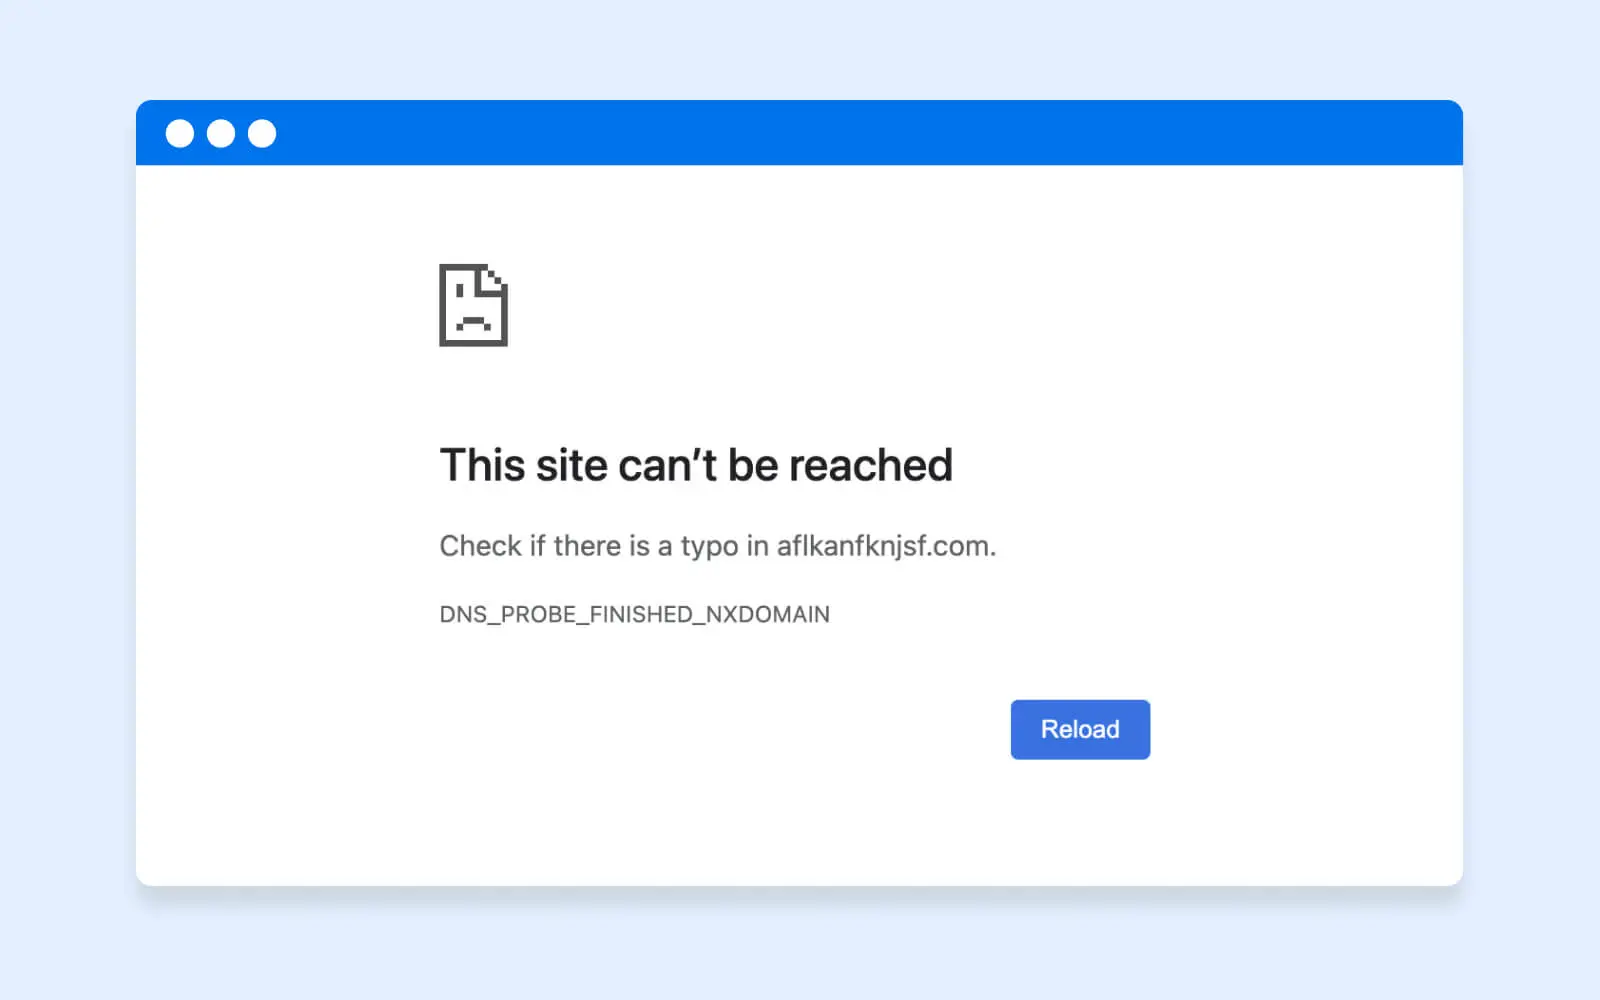
No, DNS_PROBE_FINISHED_NXDOMAIN isn’t an alien field report. It’s an error code from your browser, and it means one specific thing: the Domain Name System (DNS) couldn’t find the website you asked for.
Here’s the good news: the website itself is usually fine. Most of the time the problem lives on your own device (a stale DNS cache, a misconfigured network setting, or a plain old typo), and you can fix it in a few minutes.
In this guide, we’ll explain what the error actually means, then walk through the fixes step by step: first for visitors on Windows, Mac, Android, and iPhone, and then for site owners whose visitors keep hitting the error.
What Does DNS_PROBE_FINISHED_NXDOMAIN Mean?
DNS_PROBE_FINISHED_NXDOMAIN is a browser error meaning the Domain Name System (DNS) couldn’t find an IP address for the domain you typed. NXDOMAIN stands for “non-existent domain”: every DNS server that was asked reported that the name doesn’t exist, so your browser has nowhere to send the request.
What is DNS?
The Domain Name System (DNS) protocol keeps records of which domain names correspond to specific IP addresses. This system enables you to browse the web by typing in regular URLs instead of IP addresses.
Read More
DNS works a bit like a phone directory from the analog era, except instead of phone numbers, it matches domain names (like “dreamhost.com”) to the IP addresses computers actually use. It’s the reason you don’t have to memorize a string of digits for every website you visit.
When you type a web address, your device asks a DNS resolver (usually run by your internet service provider, or a public provider like Google or Cloudflare) to look up the domain’s IP address. If the resolver doesn’t already have the answer cached, it works down the DNS hierarchy: the root servers point it to the servers for the top-level domain (like .com), and those point it to the domain’s authoritative nameservers, which hold the actual records. The whole chain usually takes a fraction of a second.
If the authoritative servers say the name doesn’t exist, or the domain has been removed from the registry’s zone entirely, the resolver returns the NXDOMAIN answer. It’s an official DNS response: the “Name Error” code dates back to the original DNS specification (RFC 1035), and the IETF’s RFC 2308 gave it the NXDOMAIN name, describing it as meaning the queried domain “does not exist.”
And the “PROBE_FINISHED” part? When a page fails to load because of a DNS problem, Chrome runs a quick diagnostic probe to pin down the exact cause. This error name is the probe’s verdict: the check finished, and the answer was NXDOMAIN.
The error code itself is specific to Chromium-based browsers — Google Chrome, Microsoft Edge, Brave, and Opera — though each browser dresses it differently. The same DNS failure looks like this across browsers:
- Google Chrome: “This site can’t be reached,” with DNS_PROBE_FINISHED_NXDOMAIN below it.
- Microsoft Edge: “Hmmm… can’t reach this page,” with the same DNS_PROBE_FINISHED_NXDOMAIN code.
- Mozilla Firefox: “Server Not Found.” (Older Firefox versions said “Hmm. We’re having trouble finding that site.”)
- Apple Safari: “Safari Can’t Find the Server.”
What Causes the DNS_PROBE_FINISHED_NXDOMAIN Error?
DNS_PROBE_FINISHED_NXDOMAIN can be triggered from both the client side (the visitor’s device or network) and the server side (the website’s domain and DNS setup). These are the usual suspects:
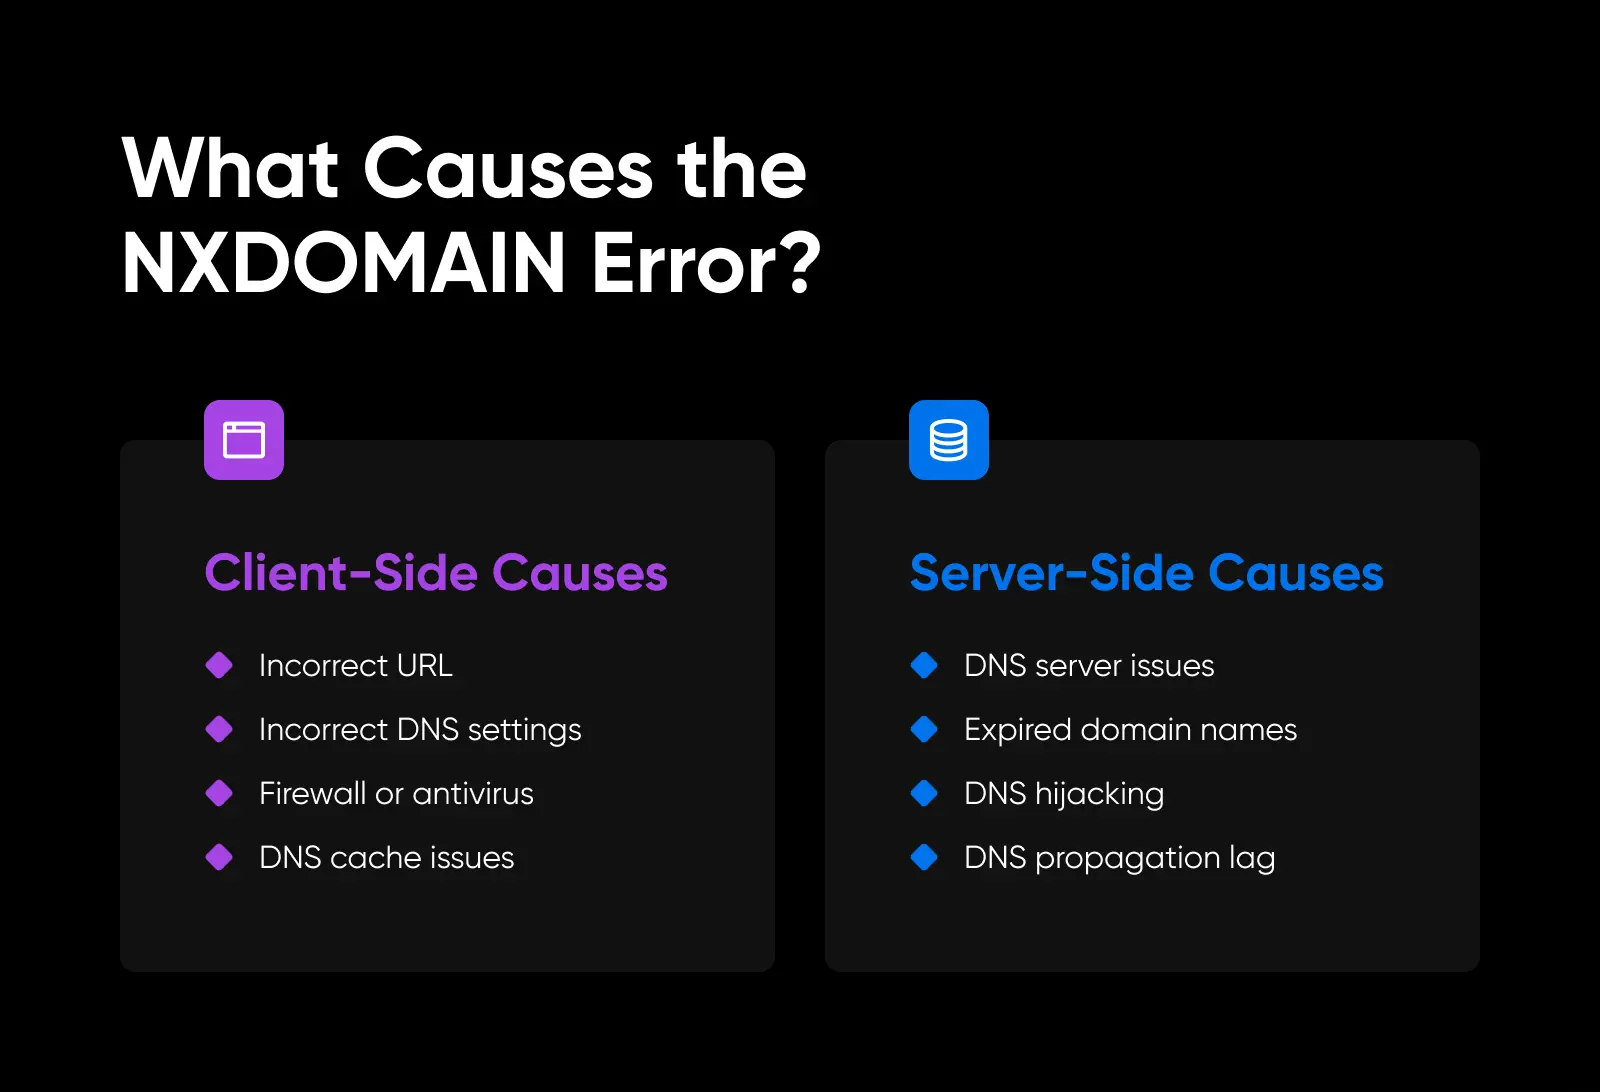
Client-Side Causes
- Incorrect URL: If you mistyped the domain name, DNS will (correctly) report that the misspelled domain doesn’t exist. This is the most common cause, and the first thing to check.
- Incorrect DNS settings: If the DNS configuration on your device points to a server that’s unreachable or misconfigured (say, after switching ISPs, installing network software, or experimenting with custom settings), lookups can fail. Malware or a compromised router tampering with these settings, or with your hosts file, has the same effect.
- VPN, firewall, or antivirus settings: Security software and VPNs sometimes filter or reroute DNS queries, and a misconfigured filter can block a domain that’s perfectly healthy.
- DNS cache issues: Your device (and Chrome itself) stores recent DNS lookups in a cache, and a stale or corrupted cached lookup keeps serving the old answer.
Server-Side Causes
- DNS server issues: The domain’s nameservers can go down or stop answering for the domain, leaving resolvers with no valid answer to give.
- Expired domain names: If a domain registration lapses, the registry eventually removes it from the DNS zone, and from that point every lookup returns NXDOMAIN. This also happens while a domain sits on a registrar “hold” status (more on that in the site-owner section below).
- DNS hijacking: If an attacker gains control of a domain’s registrar or DNS-provider account, they can change its nameservers or delete its records, knocking the real site out of DNS. It’s rare compared to the causes above, but it’s why registrars push two-factor authentication so hard.
- DNS propagation lag: When a domain’s DNS records or nameservers change, the update takes time to reach every resolver on the internet. During that window, some visitors may still get errors while others connect fine. See DreamHost’s DNS propagation overview for how long this typically takes.
How To Fix DNS_PROBE_FINISHED_NXDOMAIN on Desktop (Windows and Mac)
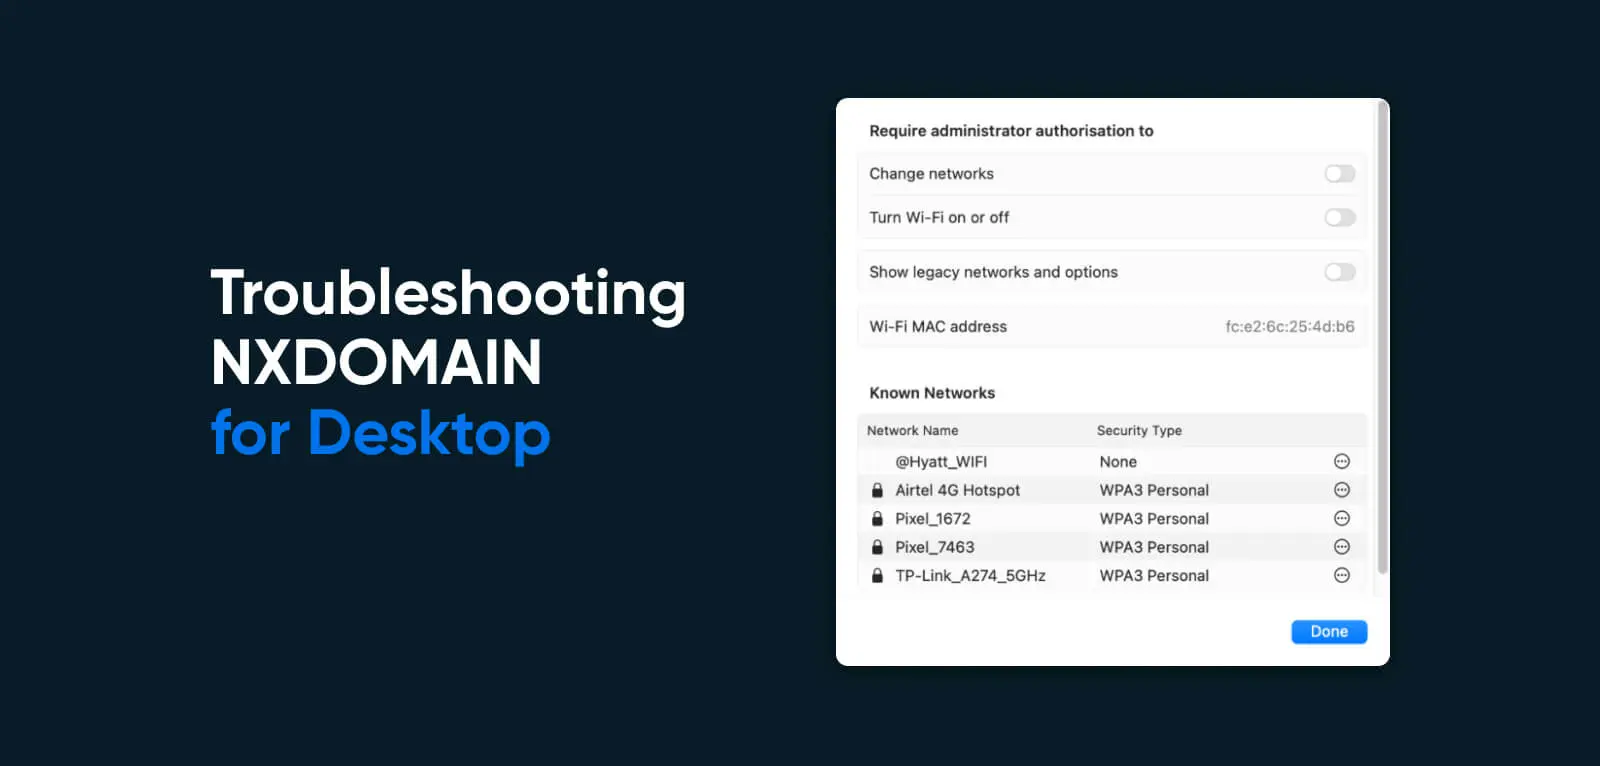
Before anything else, double-check the spelling of the address, restart your router, and try the site in a private/incognito window. If the error persists, work through these fixes in order: they’re sorted from most to least likely to help.
Flush Your DNS Cache
Flushing your DNS cache forces a fresh lookup, and it’s the classic first fix for this error. The DNS cache is a temporary database on your device that stores recently looked-up domain names and their IP addresses, so repeat visits don’t need a fresh lookup. If it holds a stale or corrupted entry, your browser keeps getting a wrong answer even after the domain’s DNS is fixed.
Cache
A “cache” (pronounced “cash”) is hardware or software that stores data. Many devices, web browsers, web servers, and applications use caching. In theory, cache memory allows for data to be fetched more rapidly. A corrupted or overfull cache can cause performance issues.
Read More
Here’s how to flush the DNS cache in Windows, macOS, and Google Chrome:
Windows: To flush the DNS cache in Windows, follow these steps:
- Open the Command Prompt by pressing the Windows key + R, typing
cmdin the Run dialog box, and pressing Enter. - In the Command Prompt, type
ipconfig /flushdnsand press Enter. - You should see a message saying, “Successfully flushed the DNS Resolver Cache.”
One note: some older guides also tell you to restart the “DNS Client” service in services.msc. On current versions of Windows 10 and 11 that option is grayed out; the service can’t be restarted manually. Flushing the cache (or simply rebooting) accomplishes the same thing.
macOS: To flush the DNS cache in macOS, follow these steps:
- Open the Terminal app by going to Applications > Utilities > Terminal.
- Type
sudo dscacheutil -flushcache; sudo killall -HUP mDNSResponderand press Enter. - Enter your administrator password when prompted, and press Enter. The command runs silently — no confirmation message means it worked.
Google Chrome: Chrome keeps its own DNS cache, separate from your operating system’s. To flush it:
- Open a new tab in Google Chrome.
- Type
chrome://net-internals/#dnsin the address bar and press Enter. - Click the “Clear host cache” button. There’s no confirmation message — the cache is cleared the moment you click.
Release and Renew Your IP Address
Releasing your IP address tells your device to drop its current network configuration; renewing requests a fresh one from your router’s DHCP server. This clears out network-level misconfigurations that can interfere with DNS lookups.
Windows: To release and renew your IP address on Windows, follow these steps:
- Open the Command Prompt by pressing the Windows key + R, typing
cmdin the Run dialog box, and pressing Enter. - Type
ipconfig /releaseand press Enter. Your adapter’s IP address fields will empty out. - Next, type
ipconfig /renewand press Enter. Your adapter will show its new IP address once the renewal completes.
macOS: To renew your DHCP lease on macOS (Ventura and later), follow these steps:
- Click on the Apple menu and select System Settings.
- Click Network in the sidebar, then select the connection you’re using (e.g., Wi-Fi or Ethernet).
- Click the Details… button next to your network’s name.
- Select the TCP/IP tab.
- Click “Renew DHCP Lease,” then click OK.
(On macOS Monterey and earlier, the same option lives under System Preferences > Network > Advanced > TCP/IP.)
Change Your DNS Servers
If your ISP’s default DNS servers are flaky, switching to a public DNS provider like Google Public DNS (8.8.8.8 and 8.8.4.4) or Cloudflare (1.1.1.1 and 1.0.0.1) often clears the error immediately.
Windows: To change the DNS servers on Windows 10 or 11, follow these steps:
- Open Settings > Network & internet, and select your active connection (Wi-Fi or Ethernet).
- On Wi-Fi, click your network’s name, then its Properties link; on Ethernet, the settings appear directly.
- Next to “DNS server assignment” (labeled “DNS settings” on Windows 10), click Edit.
- Switch from Automatic (DHCP) to Manual, turn on IPv4, and enter your preferred DNS servers (e.g., 8.8.8.8 as preferred and 8.8.4.4 as alternate).
- Click Save.
You can also take the classic route via Control Panel > Network and Sharing Center > your connection > Properties > Internet Protocol Version 4 (TCP/IPv4) > Properties > “Use the following DNS server addresses.” Both paths change the same setting.
macOS: To change the DNS servers on macOS (Ventura and later), follow these steps:
- Click on the Apple menu and select System Settings.
- Click Network in the sidebar, then select the connection you’re using.
- Click the Details… button, then select the DNS tab.
- Click the “+” button under DNS Servers and enter the address of the DNS server you want to use (e.g., 8.8.8.8 for Google Public DNS).
- Click OK.
Check Your Local Hosts File
The hosts file is a plain-text file on your computer that maps domain names to IP addresses — and it overrides DNS. Before your device queries any DNS server, it checks the hosts file first. A leftover entry (from web development work, an ad blocker, or malware) can silently send a domain to a dead address or block it entirely, producing errors no amount of cache flushing will fix.
Windows: To check and edit the hosts file on Windows, here’s what you need to do:
- Open Notepad as an administrator (search for Notepad in the Start menu, right-click it, and choose “Run as administrator”).
- In Notepad, open the file
C:\Windows\System32\drivers\etc\hosts(set the file-type dropdown to “All Files” to see it). - Look for any line that mentions the domain you can’t reach. Lines starting with “#” are comments and can be ignored.
- Delete the offending line (or correct the IP address if the entry is intentional), then save the file.
- Open the Command Prompt as an administrator and run
ipconfig /flushdnsso the change takes effect.
macOS: To check and edit the hosts file on macOS, here’s what you need to do:
- Open the Terminal app from the Applications > Utilities folder.
- Type
sudo nano /etc/hostsand press Enter, then enter your password when prompted. - Use the arrow keys to find any line that mentions the domain you can’t reach.
- Edit or delete the line as necessary.
- Press Control+O to save the file, then Control+X to exit nano.
- Run
sudo killall -HUP mDNSResponderto clear the DNS cache so the change takes effect.
Check Chrome’s Secure DNS Setting
Chrome can encrypt your DNS lookups using a feature called Secure DNS (DNS-over-HTTPS). It’s a good privacy feature, but if it’s set to a custom provider that’s misconfigured or unreachable, lookups can fail even though the rest of your connection is fine. To check it:
- Open Chrome’s Settings, then go to Privacy and security > Security. (You can jump straight there by typing
chrome://settings/securityin the address bar.) - Scroll down to “Use secure DNS.”
- If it’s set to a custom provider, switch it to “With your current service provider” (or a known-good provider from the dropdown, like Google (Public DNS) or Cloudflare (1.1.1.1)) and reload the page.
By the way: many older tutorials blame this error on Chrome’s “Async DNS resolver” flag and tell you to disable it in chrome://flags. That flag no longer exists in current versions of Chrome, so you can skip that advice. Secure DNS is the setting worth checking now.
How To Fix DNS_PROBE_FINISHED_NXDOMAIN on Android
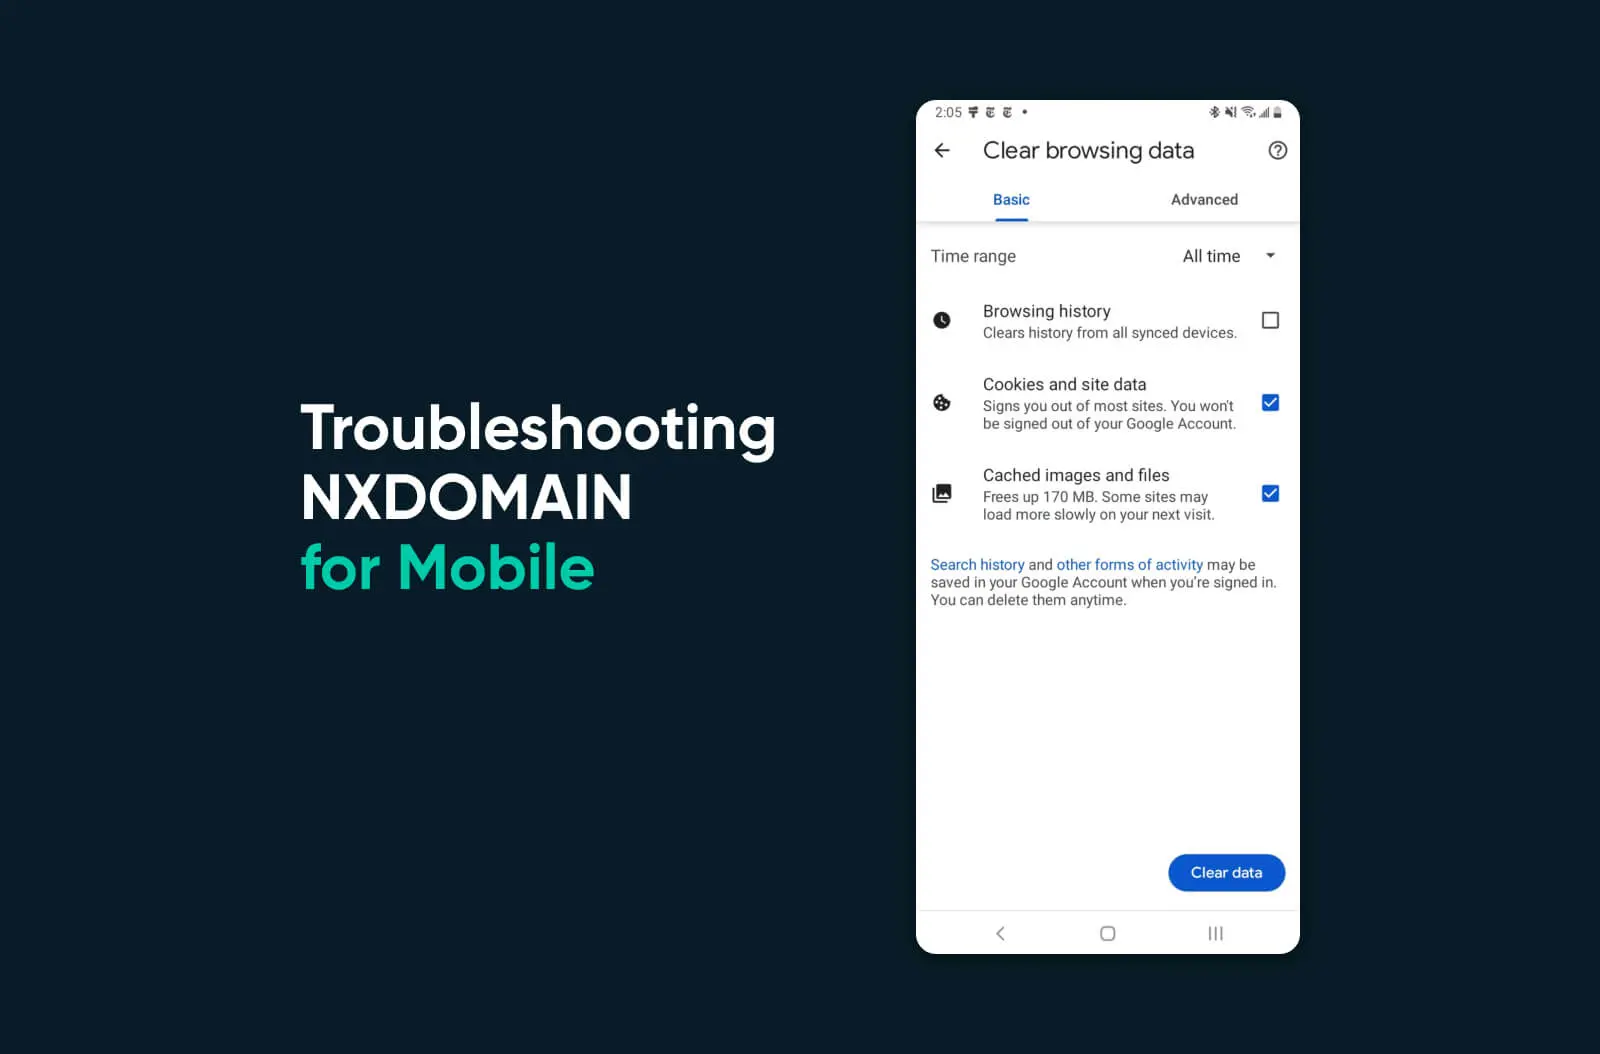
Chrome on Android shows the same error code as desktop Chrome. Menu names vary a little between manufacturers (a Samsung phone words things differently than a Pixel), but the fixes below work on any recent Android device:
- Check your connection. Make sure your device is connected to a working Wi-Fi or mobile data network. Go to Settings > Network & internet (on Samsung devices, Settings > Connections) and confirm you’re connected. Toggling airplane mode on and off for a few seconds forces the connection to re-establish.
- Clear your browser’s cache. In Chrome, tap the three-dot menu > Delete browsing data, tap “More options,” select “Cached images and files,” and confirm.
- Check your Private DNS setting. Android’s Private DNS feature encrypts DNS lookups, but a mistyped or defunct provider hostname will break them. Go to Settings > Network & internet > Private DNS (Samsung: Settings > Connections > More connection settings > Private DNS) and set it to Automatic unless you’re intentionally using a custom provider.
- Turn off your VPN. A misconfigured VPN or proxy can reroute DNS queries. Go to Settings > Network & internet > VPN and disconnect any active VPN, then retry the site.
- Try a different browser. If the site loads in Firefox but not Chrome, the problem is Chrome’s cache or settings rather than your network.
- Reset your network settings. As a last resort, go to Settings > System > Reset options and choose the network reset (wording varies by device and Android version). This wipes saved Wi-Fi networks and paired Bluetooth devices, so you’ll need to reconnect afterward.
How To Fix DNS_PROBE_FINISHED_NXDOMAIN on iPhone (iOS)
On an iPhone, Safari shows its own “can’t find the server” message for this failure. Even Chrome for iOS, which runs on Apple’s WebKit engine under the hood, shows a plain “site can’t be reached” DNS error rather than the exact code. Either way, the fixes are the same:
- Check your connection. Go to Settings > Wi-Fi, or Settings > Cellular, and make sure your device is connected to an active network.
- Clear your browsing data. For Safari, go to Settings > Apps > Safari > Clear History and Website Data (on iOS 17 and earlier, Safari sits directly in the main Settings list). For Chrome, tap the three-dot menu > Delete Browsing Data.
- Restart your iPhone. A restart clears the device’s temporary caches, including DNS. It’s the iOS equivalent of a desktop cache flush.
- Turn off your VPN. Go to Settings > General > VPN & Device Management and disconnect any active VPN, then retry the site.
- Try a different browser. If the site loads in Safari but not Chrome, clear Chrome’s data or reinstall it.
- Reset your network settings. As a last resort, go to Settings > General > Transfer or Reset iPhone > Reset > Reset Network Settings. This removes saved Wi-Fi passwords, so have them handy for reconnecting.
How To Fix NXDOMAIN Errors as a Site Owner
If visitors report DNS_PROBE_FINISHED_NXDOMAIN on your website and the client-side fixes above don’t help them, the problem is almost certainly your domain or its DNS records. Work through these checks in order:
- Confirm the domain is registered and in good standing. Look your domain up at lookup.icann.org (the official RDAP lookup) and check two things: the expiration date, and the status codes. A status of clientHold or serverHold means your domain has been taken out of the TLD’s DNS zone — ICANN’s EPP status code documentation says a domain on hold “will not resolve.” Holds are usually triggered by an expired registration, unverified contact information, or a billing or legal issue. Renewing the domain or resolving the issue with your registrar lifts the hold.
- Verify your nameservers. The nameservers listed at your registrar have to match where your DNS records actually live. If you point your domain at nameservers that don’t answer for it (say, after switching hosts and forgetting to add the domain at the new one), lookups will fail. If you’re not sure how nameservers and DNS records fit together, our guide to nameservers vs. DNS untangles the two.
- Test the lookup yourself. On any computer, run
nslookup yourdomain.com 8.8.8.8in a terminal (Command Prompt on Windows, Terminal on Mac) to ask Google’s public DNS server directly. If it answers with an IP address, DNS is working and your visitor’s problem is on their end. If it returns NXDOMAIN, the problem is real and global. - Check your DNS records. Log in to wherever you manage DNS and confirm the domain has valid A (or AAAA) records pointing to your web server’s IP address. A free checker like whatsmydns.net shows how your records currently resolve from locations around the world.
- Wait out propagation, or ask for help. If you recently changed nameservers or DNS records, resolvers around the world may still be serving the old answer; DreamHost’s DNS propagation overview covers the typical timelines. Still stuck? Your registrar or hosting provider’s support team can see things you can’t. DreamHost customers can open a ticket any time and our team will dig into the DNS with you.
One more tip: if the error you’re chasing isn’t NXDOMAIN, we’ve also published fix-it guides for the “DNS server not responding” error and ERR_CONNECTION_RESET.
DNS_PROBE_FINISHED_NXDOMAIN: Frequently Asked Questions
Is DNS_PROBE_FINISHED_NXDOMAIN a virus?
No. It’s a routine DNS lookup failure, and the cause is almost always a typo, a stale cache, or a network setting. Malware that tampers with DNS settings or your hosts file is a possible but rare cause, worth a scan only if the error persists after the standard fixes.
Does DNS_PROBE_FINISHED_NXDOMAIN mean the website is down?
Usually not. The error means the domain name couldn’t be resolved to an IP address — your browser never reached the website’s server at all. The quickest test: load the site on your phone using mobile data. If it works there, the problem is your device or network, not the site.
Why do I get this error on only one website?
If every other site works, suspect a typo in the address, a hosts-file entry for that specific domain, a stale cache entry, or a problem with that site’s domain itself (expired registration or broken DNS records). If the error hits every site, your device’s DNS settings are the likelier culprit.
What does NXDOMAIN stand for?
NXDOMAIN is shorthand for “non-existent domain.” It’s one of the standard response codes a DNS server can return, defined in RFC 2308, and it means the queried domain name does not exist in the DNS.
Why does this error only appear in Chrome?
The error code is generated by Chromium, the engine behind Chrome, Edge, Brave, and Opera. Firefox and Safari hit the same underlying DNS failure but describe it in plain words instead — “Server Not Found” and a “can’t find the server” message, respectively.
DNS_PROBE_FINISHED_NXDOMAIN Error: Wrapping Up
DNS_PROBE_FINISHED_NXDOMAIN looks alarming, but it’s one of the more fixable browser errors: check the spelling, flush your DNS cache, try a public DNS server, and you’ll clear it in the vast majority of cases. Site owners have a shorter list (domain status, nameservers, DNS records) and support teams to lean on.
If nothing works, don’t hesitate to bring in reinforcements: your registrar or hosting provider can trace a DNS problem from angles you can’t see. That’s literally what they’re there for.

Private Domain Registration For All
Don’t let someone else register your domain first. Search DreamHost’s 400+ TLDs to find the perfect fit for your website.
Master Your Domain
Did you enjoy this article?